
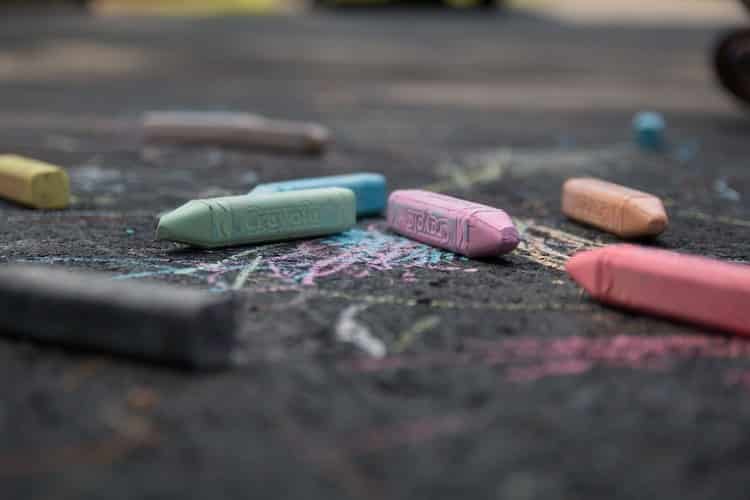
Warm weather is here! There’s a lot to do outside, so grab that box of sidewalk chalk and find a good chalk sidewalk. Everyone can do this activity with children.
Fantasy drawings with chalk
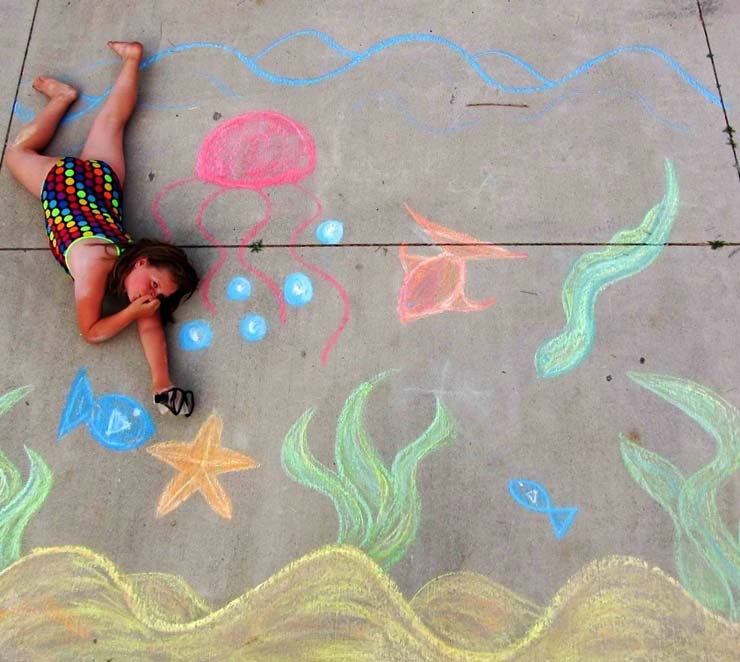
Fantasize about what you can chalk together. If you work with small children, you can also make the rough sketch yourself and let them color the drawing further. Are you not that creative yourself? No problem, search for a simple picture on Google to draw. Children have the greatest fun with sidewalk chalk and now they can have even more fun with it. As a childcare worker, you can immediately take a nice photo to show the parents what you have made.
Take a jug of water or lemonade with you when you go outside, it is very important to drink well on a hot day! This also saves walking again.
What do you need for sidewalk chalk drawings?
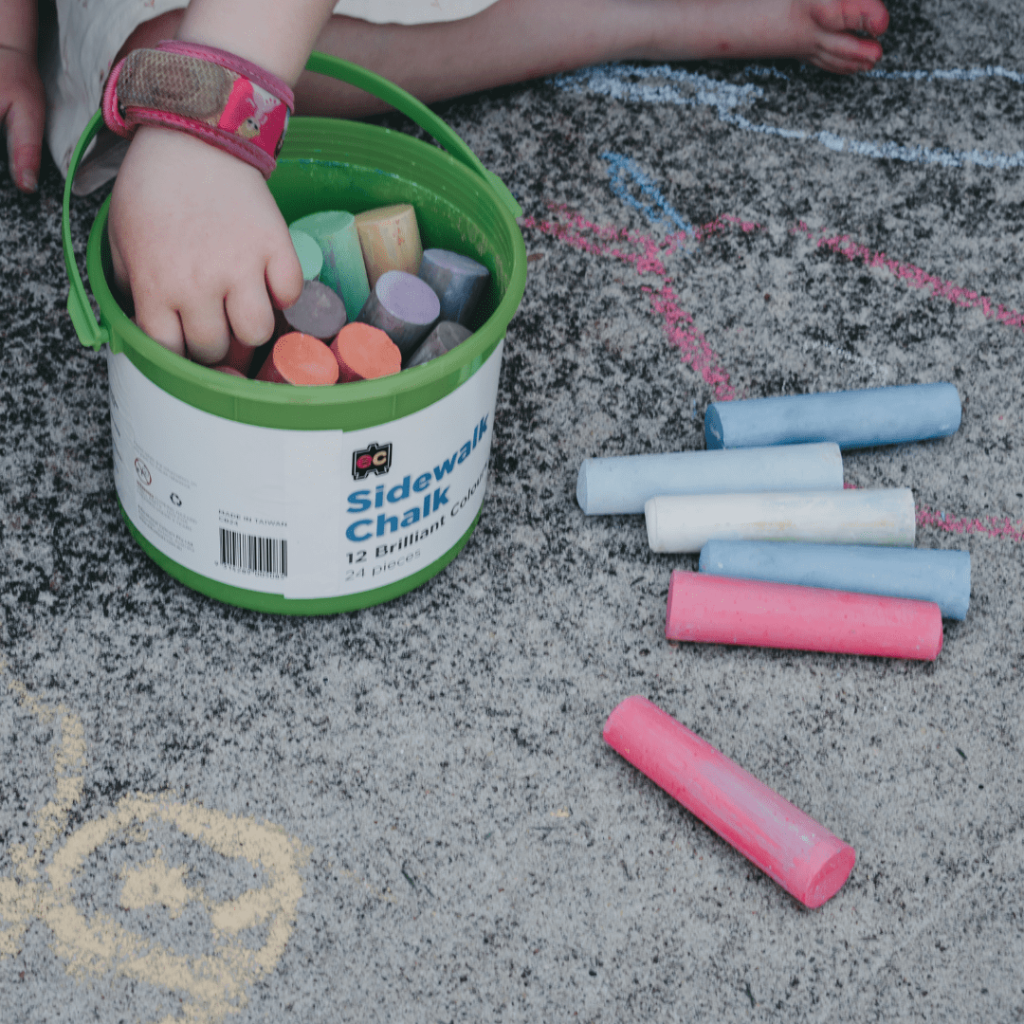
- A box of sidewalk chalk
- A creative brain / or Google
- A nice sidewalk to chalk on
- A pitcher of lemonade or water
What should you do for sidewalk chalk drawings?
Step 1: Fill a pitcher with water or lemonade and take the chalk box outside.
Step 2: find a good sidewalk you can chalk on
Step 3: let the child loose on his creativity and help the child where necessary, you can also draw the lines and let the child color your drawing
Step 4: don’t forget to take a nice picture to send to the parents
Have fun coloring!
Source: https://makencreate.com/?p=2576
Watercolors on the ground
On a hot day, water is perfect to play with! Get some paint brushes for the children to paint with, for example, on the sidewalk tiles. Sometimes the simplest things are the best! Just to be on the safe side, bring some extra paintbrushes with you, because there are always more kids who want to join in. This one is perfect activity to do with all children as any age is suitable for this activity! Give them a brush and let them loose on a creativity. Incidentally, this is also a very nice activity for a children’s party!
For us childcare workers, it’s one of those sweet moments to sit down, relax and have a coffee or a nice conversation because the kids are so peaceful when they paint and because it keeps drying up, they can do this FOR ALWAYS do!
What do you need for watercolors?
- A (big) bucket of water
- Brushes (better a little too much than too little)
- A chair a cup of coffee for the nanny ????
What should you do before watercoloring?
Step 1: Fill a bucket with lots of water. This can do the child very well, maybe the bucket is a bit too heavy to lift to the place where you want to paint so the au pair can do that best.
Step 2: Let the child carry the tassels while you carry the bucket. Once you’ve put down the bucket, the kids can get to work! Chill time for you, get your seat and your coffee and let the watercolor painting begin!
Lots of fun! Watercolors are also very nice as an indoor activity! ????
Source: https://makencreate.com/?p=2576
Chalk missiles

Do you want to do something super cool sidewalk chalk?! Go make chalk rockets! chalk chains are containers filled with liquid chalk that shoot up into the air, leaving beautiful chalk drawings on the sidewalk or on the street. This is super fun to do at a children’s party, but also as an outdoor activity. The kids will love this all day long!
What do you need to make a chalk rocket?
- Half a liter of water
- A big bowl
- As much cornstarch as water
- A fork
- Small plastic cups/trays with a pressure lid
- food coloring
- Alca-Setzel effervescent tablets
- A glue gun
- Safety glasses
NOTE: it is very important that the container is airtight
What should you do for making chalk rockets?
Step 1: Add the half liter of water to the large bowl.
Step 2: Then add the same amount of cornstarch as water to the bowl
Step 3: Now stir well with the fork, make sure that the mixture is completely lump-free
Step 4: Ready? Grab your plastic containers! We use containers that have contained cupcake molds. But you can also use other containers, for example, containers that used to contain rolls of film or maybe you have small Tupperware or other small containers, as long as there is a pressure lid on it and no twist lid because otherwise, it will of course not come off. Fill the containers to about 1 cm below the rim. You can redistribute it a bit if one has more than the other.
Step 5: Your Chalk Mix is Ready! You can give a nice color to your mix by adding two or three drops of food coloring. Stir it well, if you want it a little brighter you can add some more.
Step 6: Your Mixes Are Now Done! Now only the secret to let it go. These are Alca-Seltzer Effervescent tablets, these are effervescent tablets that work against, for example, the flu and you can simply find them at Kruidvat or Etos! These tablets will ensure that there is so much pressure on the container that all liquid shoots straight up, the lid flies off and the container shoots up, as it were.
Step 7: To prevent the whole thing from being covered in a bit, stick the effervescent tablet to the inside of the lid with, for example, a glue gun. Do not put the lid on yet, you will do this in the garden in a moment.
Step 8: Are all tablets on a lid? Then all your preparations are ready and you can go into the garden!
Step 9: First of all, put on your safety glasses to prevent anything from spraying into your eyes. Put the lid on properly, put the container upside down on the ground (so that the container is on the lid). Keep enough distance from the container and wait for the container to shoot up! WOW!
Source: https://www.youtube.com/watch?v=IINsBZeW-cI
Sidewalk chalk twister
Need some variation in the indoor games? Play the games outside! Think for example of twister, you can make this very well with sidewalk chalk! A very nice activity to do for an au pair to do. This is a very good activity to do with children aged 4+.
What do you need to make sidewalk chalk twister?
- A box of sidewalk chalk
- A nice sidewalk / surface to chalk on
- Enough children to play with (or you can of course also play it on your own)
What should you do for making sidewalk chalk twister?
Step 1: Find a good sidewalk/surface to chalk on.
Step 2: Chalk a twister field on the sidewalk. These are four rows, each with four circles in four different colors. Red, green, blue, and yellow. Then color in the circles to make it even clearer what color it is.
Step 3: If you happen to have a twister turntable lying around, you can use it. Otherwise, point to someone who will tell you where to put which hand and which foot. So for example left leg on red, then you put your left leg on red, or right hand on green then you put your right hand on green, etc.
Step 4: Ready? Let’s play! Be careful not to fall, because then you’re done!
To make it even more difficult, you can also use your nose, ear, or knee as a body part.
When someone has fallen, the roles can be reversed; the turner becomes a player and one of the players becomes the turner. You can make the game as difficult or easy as possible by making the circles slightly larger or smaller or by standing in the box with more people.
Lots of fun!
Source: https://www.youtube.com/watch?v=5DzN5DFmzAM
Obstacle course
Nice weather outside? We have found a super fun activity for you to do with your host children. Grab the sidewalk chalk and draw a nice trail on the ground! Make it as difficult as you want! Incidentally, this is also a very nice activity to do for a children’s party.
What do you need to create an obstacle course?
- sidewalk chalk
- A good surface to chalk on (a sidewalk or street)
- Multiple children to participate in the course
- Lots of fun
- A bucket of water/a prize
What do you have to do to create an obstacle course?
Step 1: Grab the sidewalk chalk and collect as many children as possible to participate in the course
Step 2: Draw a route with sidewalk chalk. Make it as difficult as possible! You can draw as many things as you want, think of circles to jump in, lines to walk or jump over, circles to run around, draw arrows to jump on, etc. Just think of it! Children are also often creative enough to make a good difficult course.
Step 3: Ready? Let’s play!
Another option is to make a relay of the course:
Step 1: Make two identical courses’ with the sidewalk chalk. Make it as difficult as possible again.
Step 2: Once the course has been drawn up, you make two teams. Make sure that the ages are fairly evenly distributed, so not all young or old children together.
Step 3: The team that wins gets a prize! Come up with a nice prize that they can win, for example, a nice ice cream.
If you are going to do this during the children’s party, make sure that the birthday boy or girl does not feel sad if her team has lost. You can do this very easily by coming up with a consolation prize or by letting the team that lost play against the parents and let it win.
Also read: https://nannynina.nl/blog/activities-om-te-doen-met-mooi-weer
Sidewalk chalk cupcakes

Besides the fact that you can make beautiful drawings from sidewalk chalk, you can also make nice figures from sidewalk chalk, for example, cupcakes. Very nice, but also very easy. Super fun to do with your host children at home! You can do this with any age (except babies). With smaller children you may have to help a little more, but that also makes it extra fun.
What do you need to make sidewalk chalk cupcakes?
- Cast
- Three cups
- stir sticks
- Three cupcake molds
- Cold water (real cold water, not regular water)
- food coloring
What do you have to do for making sidewalk chalk cupcakes?
Step 1: Start with the three cups. Put about 1/3 of cold water in each cup. It is easier to use a measuring cup for this, but it is also possible with cups.
Step 2: Choose your three favorite colors to make your cupcakes. Then put a little bit of food coloring in a cup and mix it with the water. Put a different color in each cup. If the color isn’t intense enough yet, just add some more. The colors may be very intense now, but later it will make it a lot less.
Step 3: Mix the plaster with the water. Look for the proportions on the packaging. You will notice that the water starts to thicken a bit and that the color is also a lot less dark. The plaster is good if the consistency resembles that of yogurt. It may even be quite solid yogurt. If it still feels a bit runny, just add some more plaster.
Step 4: When the mixture is ready, you can put it in your cupcake molds and let it dry. It has to dry well for at least a day and then you can remove the cupcake chalk from the molds. It is very important that it is really solid, just like a stone. When the cupcakes have dried well, they come out of the mold easily and they actually look like a cupcake.
You can now take to the streets to try out your chalk cupcakes! How cool is it that you can now actually write and draw with it!?
Lots of fun!